Being a transplanted New Yorker, I have very high standards with regards to pizza. I expect nothing but the best, and more often than not I find pizza outside of The City to be quite lacking. While we have been fortunate enough to acquire the delicious pizza from Pizza Vito’s, it’s not always economical to order out. I have been perfecting my own pizza making skills for a few years now, and I can attest to how simple it is to make your own pizza from scratch. Here’s what you’ll need:
Dough
3 cups bread flour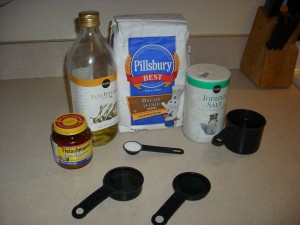
1 tbsp yeast
1.5 tbsps sugar
3/8 cup & 3/4 cups warm water — keep separated, and make sure it’s not to hot to the touch!
3 tbsps cups olive oil
1 tsp salt
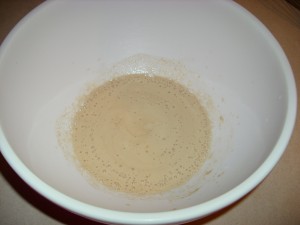
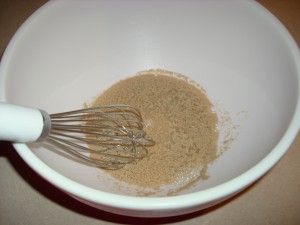
In a bowl, combine yeast and sugar. Making certain the water is not too hot (you will kill the yeast if it’s too hot), pour in the 3/8 cups of water. Whisk gently then leave it alone to proof.
When the yeast mixture looks foamy, it has finished proofing. Be careful not to let it sit too long, lest you desire a beer-y smell in your dough.
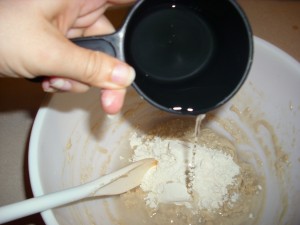
Now, there are many, many ways of doing this. Everyone has an opinion, but here’s how I do it. I drizzle in the 3 tablespoons of olive oil, pour in the teaspoon of salt, and add 1/2 cup of bread flour. Mix it together to make a “sponge” — from here you can choose to let it ferment and become a sour dough starter, or you could continue on with the process. Depending on my mood and the amount of time I have, I’ll let it hang out and ferment a bit to add some flavor. Usually, I’m more inclined to continue with my slow additions to the dough. To the start, add 1/2 cup of flour and 1/4 of water at a time, stirring after each addition.
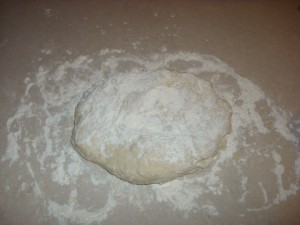
Once you’ve worked up to all of the water and 2 cups of the flour, you should have a nice, sticky dough. Add another 1/2 cup of flour or so before turning it out onto a floured surface. Basically, you want to make sure the dough isn’t going to stick to your hands and the surface rather than forming a lovely dough. Sprinkle some flour on top of your turned out dough.
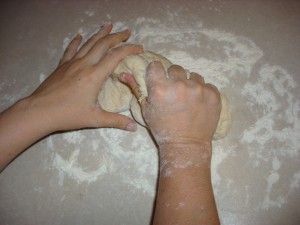
Now comes the fun part — kneading! For about 5 to 10 minutes, knead your dough. Add flour as needed. Keep in mind that the amount you need in the end will be contingent on the atmospheric conditions — dry or humid weather can affect the dough. Squish it. Fold it. Work air into it. You want the gluten strands to form and the dough to get nice and airy. Air pockets are a good thing!
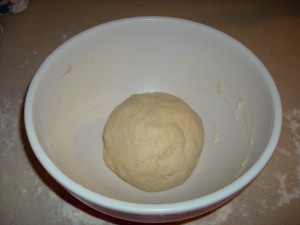
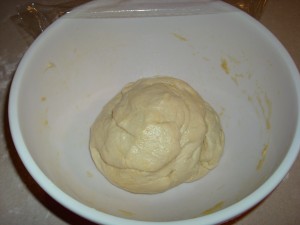
After you’ve kneaded your dough, form it into a ball. Grease the bowl with olive oil, or you can be lazy like me and spray the bowl with canned, sprayable oil. Put the dough ball in the center of the bowl, grease/ spray it, and cover it with a tea towel or greased/ sprayed plastic wrap.
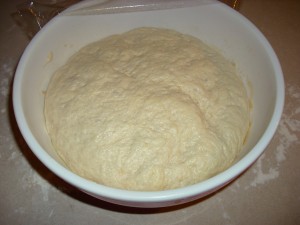
Put the bowl somewhere nice and comfy, preferably about a nice 80 degrees. Yeast likes warm, lovely weather. Now walk away. Leave it alone. No peeking! Your dough needs to rise and double in size for about an hour. Go for a walk. Watch some TV. Play. Watch paint dry. Shoo!
An hour later, your dough will have doubled in size and is ready to be reformed into a ball. Resist the urge to literally punch it down — you will deflate all of those lovely air pockets and have a lousy end result. Trust me on this one! Place the reformed dough ball back into the bowl for another 30-45 minutes and go about your business again. See? It’s pretty easy as long as you can distract yourself between the rises.
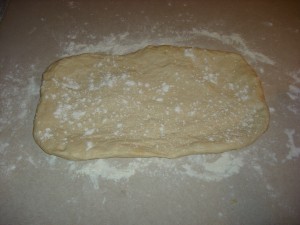
Now that your pizza dough has risen, it’s time to get your pizzas prepped for baking. Preheat your oven to about 400 degrees F. I split the dough into two because I like traditional thinner crusted pizza. You could, of course, make a thick crusted pizza if that’s your thing — but you really should separate it. I promise you, there’s nothing as glorious as a New York style slice of pizza, flopping under the weight of gooey, delicious cheese. After separating the dough I’m a little unorthodox and roll it out with a rolling pin. You’re more than welcome to try flipping your dough around like the pros, but be careful. Pizza dough only needs a small bit of persuasion to become a horrible, messy accident.
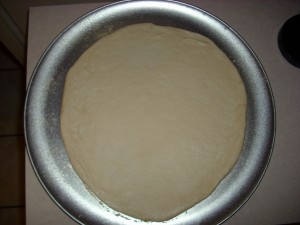
Roll out the dough into either a nice circle or rectangle, depending on how you’d like to enjoy your pizza. Sometimes a nice Sicilian style pizza can be fun, you know. A good way to transfer your dough to the baking sheet (or paddle if you have a nice paddle and pizza stone — lucky you) is to fold it over twice gently. Place the dough on the pan and unfold it carefully. You can manually spread it out a little more if needed.
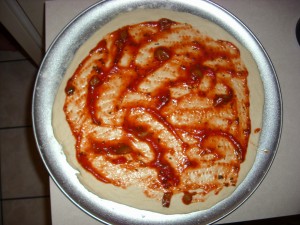
Now poke the dough lightly with a fork to ensure the crust doesn’t puff up too much. Of course, you can skip this step if you like. I happen to like the end results with this method, so that’s what I do. Now it’s time to add some sauce of your choosing. You could make it from scratch, open up a jar and use it straight, or you could doctor up some jarred sauce. I assure you any method is just fine. Spread out the sauce on the crust to ensure even coating.
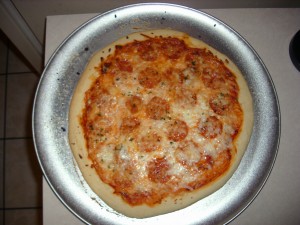
Sprinkle a thin layer of mozzarella before adding toppings. This part is also fun because there are endless possibilities. In this particular instance*, I used pepperoni. Then add another little sprinkling of mozzarella. I like to sprinkle some “parmesan” — really, it should be called parmigiano — and parsley on top. The parm adds a little extra flavor, and the parsley looks pretty on the pizza. I figure some people sprinkle parm on their pizza right before they eat it, why not just bake the flavor into it? And the flavor is absolutely worth it.
Switch your oven from bake to broil (or don’t). Put the pizzas into the preheated oven for 7:30 minutes. After 7:30 minutes, switch them so both pizzas cook evenly. Bake for another 7:30 minutes. Cooking times will vary based on preferences and oven efficiency. You may need more time if you want a crisper crust, but be careful.
Voila! Homemade pizza. Slice that delicious pie up, and enjoy!
*Last night, I actually made pineapple pizza, but the pizza looked less than photogenic. This particular pizza was actually from a previous instance.


![[Foodie Friday] Turkey Soup](http://blog.sailorscorpio.com/wp-content/uploads/2011/12/turkey-soup-150x150.jpg)

![[Foodie Friday] Lazy Tiramisu](http://blog.sailorscorpio.com/wp-content/uploads/2011/11/152-150x150.jpg)

