Foodie Friday: Annie’s Eats Review

About a month ago a friend of mine shared a link to Annie’s Eats. I think it was a chocolate peanut butter cake or something along those lines. Anyway, the food photography is right up there with Smitten Kitchen and The Parsley Thief — basically the same enjoyable experience I expect when I’m looking for delicious, glorious pictures of food. Last week she posted a recipe for caramel apple cinnamon rolls. Let me tell you about my relationship with cinnamon rolls…

Growing up, I never really liked cinnamon rolls. It could very well be that most people dump entirely too much sugar into the icing, thereby rendering the final product a sickeningly sweet, unappetizing mess. Pillsbury, Cinnabon — nope, neither suited my tastes. It wasn’t until four years ago that I came around to the sweet confections that have so much potential. I blame it on pregnancy hormones. I was probably 4 months along with my daughter, and the doctor’s office was across the street from the mall. Being that I take the bus everywhere, I had to go through the mall and across the street to get there. I happened to be walking past Cinnabon that particular day, and they had free samples. I’m a sucker for free samples, and I don’t even care what you’re hawking. I’ve discovered some pretty great things through free samples. Anyway, I must have gotten the least iced piece of cinnamon roll they had on that tray, and it was life changing — absolutely life changing! Don’t get me wrong, I’m not going to buy stock in Cinnabon or load up on Pillsbury’s cinnamon rolls. However, I did warm up to the idea of making cinnamon rolls from scratch. A few months ago, Brian requested that I make this “clone of a Cinnabon” recipe he found, so I obliged with the hopes of creating an icing that fits my sweet-but-not-too-sweet criteria. I mean, who wants to feel like they just instantly gave themselves cavities? It was a success, even if the rolls still had that weird aftertaste that I can’t quite place.

Fast forward to last week. It’s autumn, and I associate this season with crisp air, colorful leaves, pumpkins, and apples. I think of cinnamon, nutmeg, cloves, and ginger permeating the air. I think of delicious childhood treats. Caramel, apples, and cinnamon all in the same recipe? Sign me up for that! So Monday night I had all the ingredients and a not-so-sleepy baby keeping me awake, and I prepared each separate part. I refrigerated everything overnight to bake on Tuesday morning. It’s been conveniently cool and crisp overnight, so it was the perfect way to start the day. Obviously, I tailored the icing recipe to suit my tastes, but it can’t be helped. I think I might try a different variety of apple next time simply because I’m not big on Granny Smith apples, but overall the end result was delicious. I didn’t bother with pictures — Annie’s got some great images of her own that will absolutely get you interested in baking them, too.

Share

Foodie Friday (August 20th)

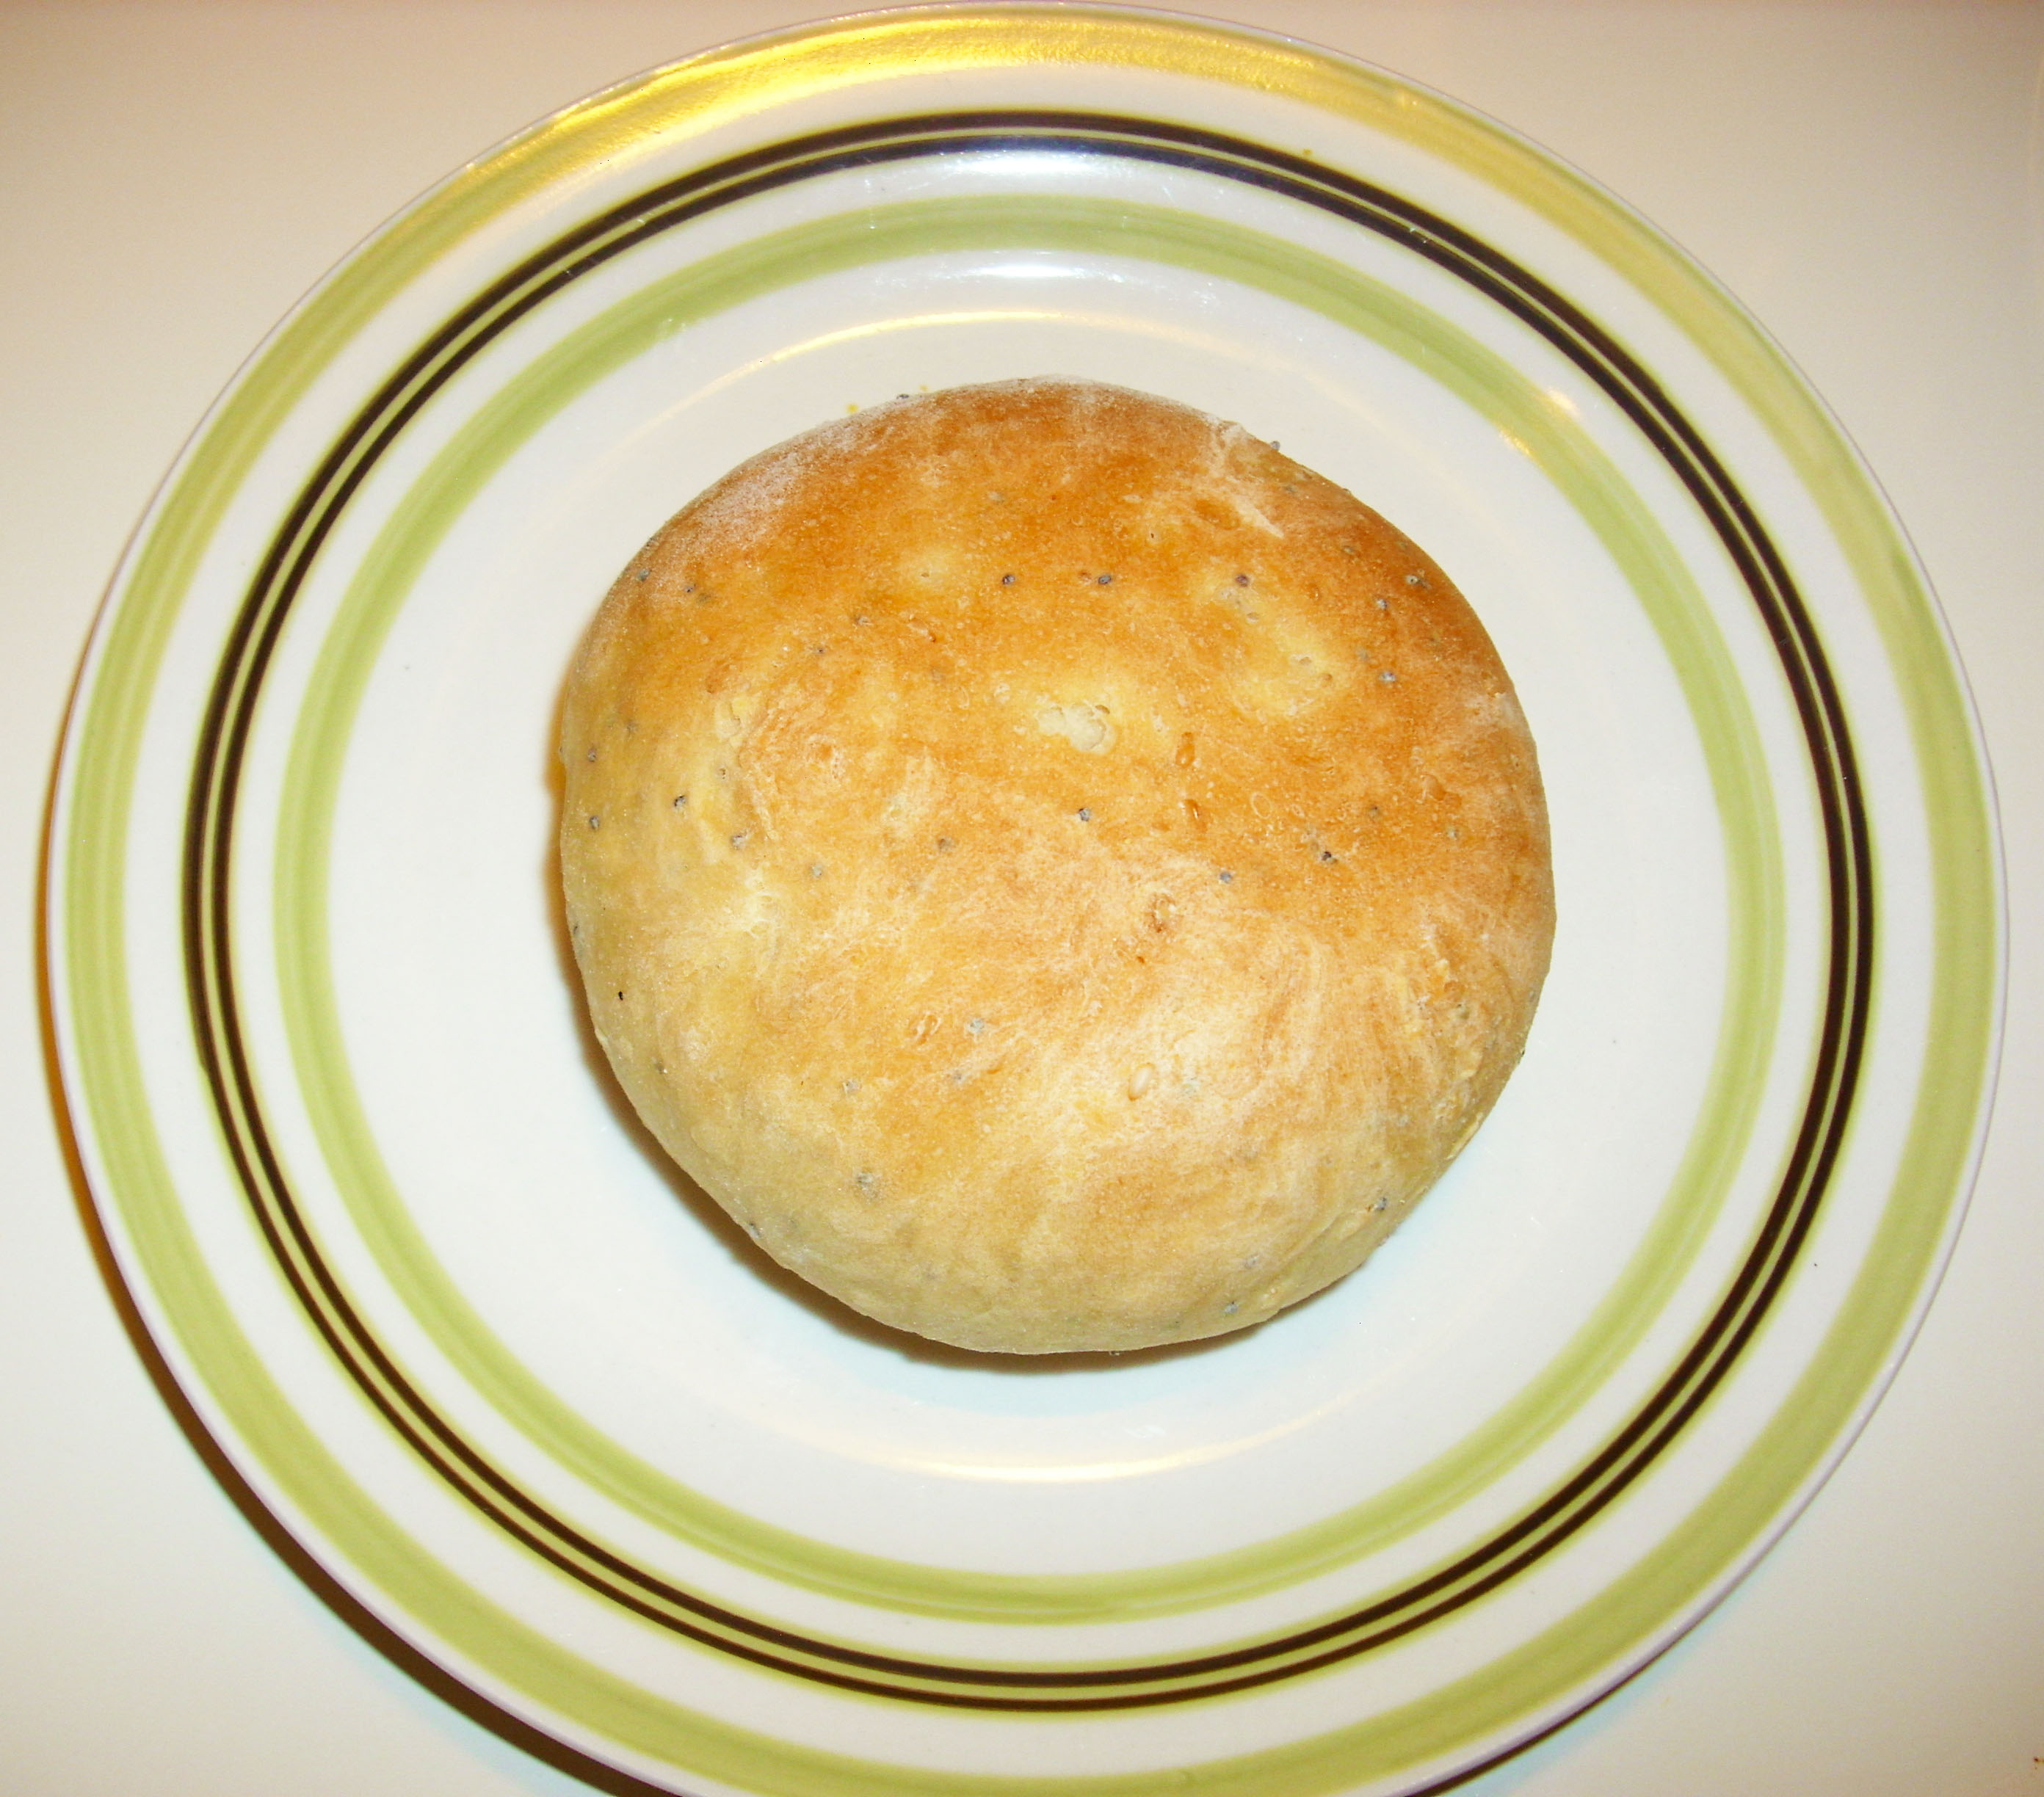
So, I mentioned that last week I wanted to post pictures of the buns I made. Well, here they are.

Unopened Bun

Look how gloriously it browned up. They were quite beautiful, and I was extremely proud.

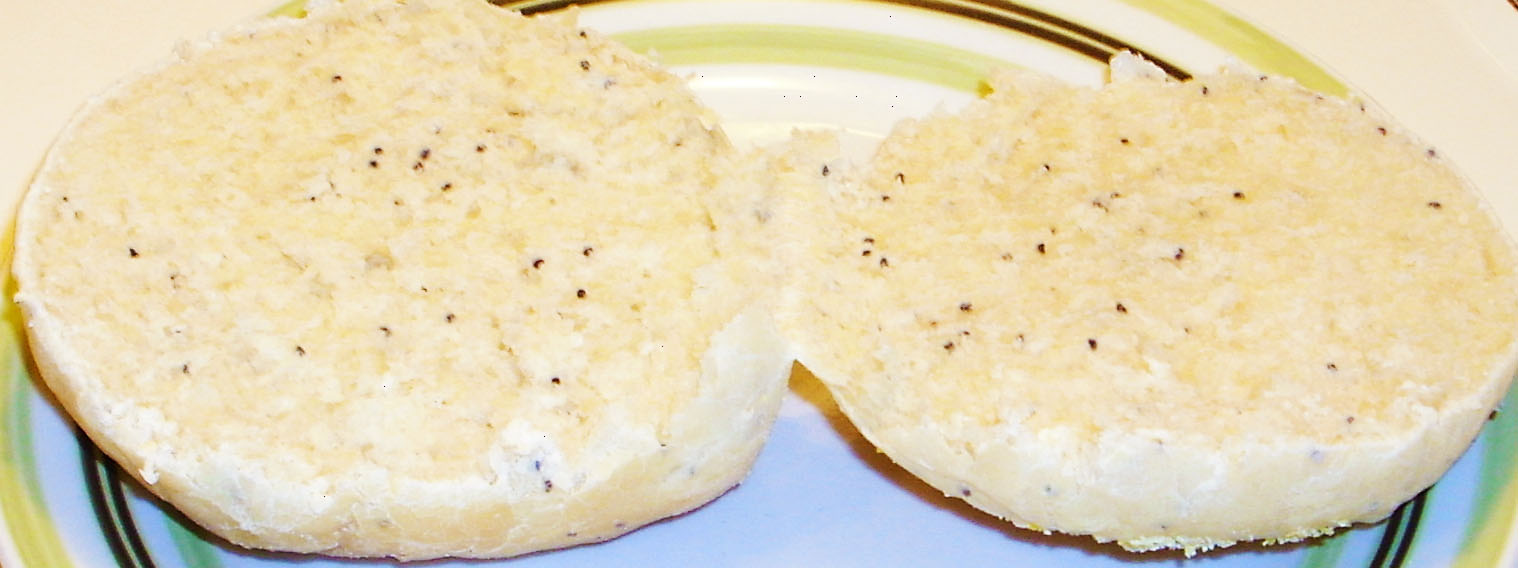
Opened Bun

And inside, you can see more lovely specks of poppy seeds. My photo enhancements just don’t do justice to the finished product, but then again I’m working with a regular digital camera. Like I said at the start of this venture, I certain do not have the fancy equipment the typical food blogger does.

Share

Foodie Friday: Delicious Cake!

So this week, I really don’t have a recipe for you. All I can say is that it’s been a little hectic, and nothing gets me into a better mood quite like chocolate. Luckily for me, Smitten Kitchen had a lovely recipe for a chocolate loaf cake early this week. I admit, I tweaked the recipe only slightly — I used plain milk with some raspberry vinegar since I can’t really justify buying buttermilk for one recipe. I also realize we just had cake last week and I’ve been whining about weight loss, but I have left over whipping cream, a bag of thawed strawberries, and a desire to enjoy something chocolaty. I actually mixed all of the dry ingredients together on Wednesday for fun and later convenience.

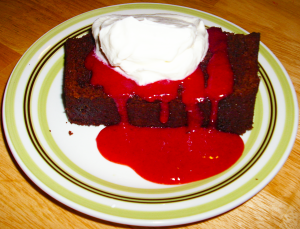
Anyway, here’s the finished product. Next week, I’ll probably try to come up with something a bit healthier to share.

A slice of deliciousness

The batter had a mousse-like texture to it, inviting me to enjoy some delicious raw batter. Because my oven is rather ridiculous, it only took about 43 minutes to bake the cake (the recipe originally called for 60-70 minutes — if I left it in there any longer, I’d have a charred, inedible brick). I served it with a drizzling of strawberry puree and a dollop of whipped cream. It was the perfect dessert to end this week on a sweet, chocolatey note.

Share

Foodie Friday: Tiramisu Cake

Tomorrow we’ll be celebrating my husband’s birthday, and this year I’ve promised to bake him a tiramisu cake. Back in May, I decided to bake a tiramisu cake for our marriage anniversary because we both love tiramisu. I experimented with that cake again for Father’s Day, and now I’m confident I can get the exact results I’d like. Much of my inspiration came from Smitten Kitchen, which had the most detailed recipe out there — and the prettiest pictures, too! There are six specific parts to my version: espresso extract, espresso syrup, a genoise cake, a zabaione, the mascarpone mixture, and whipped cream. As you can tell, it’s very involved and very not conducive to a step-by-step picture post — never fear, pictures will be here, but not for each individual step and part. Let’s start with our ingredients for each part:

Espresso Extract
4 tablespoons of instant coffee or espresso powder
4 tablespoons of boiling water

Espresso Syrup
1 cup of water
2/3 cup of sugar
2 tablespoons of espresso extract
2 tablespoons of Kahlua Mocha (or coffee liqueur of your choice)

Zabaione
3 egg yolks
1/3 cup of sugar
3/8 cup of Kahlua Mocha (or Moscato/ Marsala/ Brandy/ other spirit of your choosing)

Mascarpone Mixture
8oz tub of mascarpone cheese
1/2 cup of powdered sugar
1 1/2 teaspoons of pure vanilla extract (no imitation nonsense — the cost is the same, use the real thing!)
1 tablespoon of Kahlua Mocha (again, you can use a different spirit of your choosing — I go for a coffee flavor throughout my cake)

Whipped Cream
1 cup of cold heavy whipping cream

Coffee-flavored Genoise Cake
1 cup (2 sticks) of melted butter
4 large eggs
1 cup of sugar
1/2 teaspoon of vanilla extract (again, the pure way is the right way!)
2 tablespoons of Kahlua Mocha (or other coffee liqueur of your choosing)
1 tablespoon of espresso extract
2 cups sifted cake flour
1 teaspoon of baking powder (okay, not orthodox in a genoise cake, but I like the little extra lift)
1/4 teaspoon of salt

Pretty intense, I know. So, let’s get down to creating this lovely round piece of heaven.

To make your espresso extract, boil the water. In small container, measure the instant coffee/ espresso powder, then pour the boiling water over it. Stir to dissolve the granules. Cover loosely and set aside.

To make your espresso syrup, heat the water and sugar, stirring until the sugar is dissolved. Add the espresso extract and Kahlua, stirring to combine. Allow the syrup to simmer until the syrup begins to thicken. You should have over a cup of syrup reserved — of course, you could halve the recipe if you don’t enjoy the soggy, cake-y goodness that usually comes with tiramisu. We happen to love every coffee-flavored syrup-soaked bite in this house, though.

To make a zabaione, either get out your double boiler, find two pots that fit together, or get a metal bowl that will sit atop one of your pots. Put enough water into the bottom pot, but don’t put in so much that it touches the bottom of your top pot/ bowl. Heat the water. In your top part, mix the yolks and sugar until fluffy and yellow. An electric mixer really facilitates this process. Once your yolk mixture looks pale yellow and creamy, stir in the liqueur and place on top of your simmering water. Mix constantly for about 10 minutes, or until fluffy and thick like custard. Set aside to cool, then refrigerate.

To make the mascarpone mixture, whisk or use your electric mixer to combine the ingredients into a fluffy, creamy mixture. Refrigerate. Ignore the desire to eat it as is.

To make the whipped cream, pour the cold cream into a cold bowl (it’s recommended that you use a metal bowl, but I’ve had luck with plastic, too). Get your electric mixer, attach the whisk, and beat the cream until it’s about doubled in size and forms stiff peaks. Be careful not to over whip your cream, or else you will end up with butter.

To make the cake, preheat your oven to 350 degrees F. Sift together cake flour, baking powder, and salt. If you’re confident in your genoise baking skills, omit the baking powder. Set aside. Next, melt the butter and set aside. Using an electric mixer, beat your eggs and sugar constantly. You’re going to want a very fluffy, airy cake batter with lots of wonderful little air pockets. Carefully pour in your flavoring ingredients while beating your egg and sugar mixture. Once your mixture looks like it’s about doubled in size, gently fold in the melted butter with a spatula. You don’t want to over mix it, or you will risk deflating all the air you’ve beaten into the batter. Then carefully fold in the dry ingredients, again being diligent not to over mix. Pour the batter into two grease cake pans and bake for 20-25 minutes. I find that my oven bakes them in 20 minutes. Allow your cake layers to cool for a bit.

Still with me? We’re not finished yet. We still have to mix our filling and frosting, soak our cake layers, and assemble the beautiful thing. Get out your cocoa powder because you’re going to need that for garnishing. Here’s how we’ll do it:

Tiramisu Filling
Zabaione
Half the mascarpone mixture
Half the whipped cream

Gently fold together the zabaione and mascarpone mixture. Then gently fold in the whipped cream. Resistance is futile — you might as well lick the spatula. If it’s a little runny, you can whip the mixture a bit to help thicken it up.

Tiramisu Frosting
Half the mascarpone mixture
Half the whipped cream
A drizzling of espresso extract

Whip the frosting to fluffy perfection.

We’re finally ready to assemble our cake. Take the first cake layer and begin soaking it with half the espresso syrup. Be careful and patient about it — you want to have an evenly soaked cake, and you don’t want to make a sticky mess.
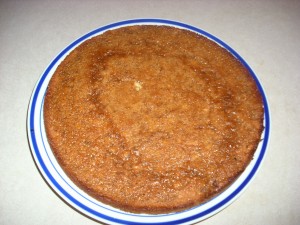
First soaked layer

Once you have soaked the bottom layer, spread the filling evenly across the cake layer.
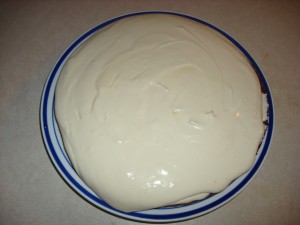
Tiramisu Filling

Place your top cake layer atop the tiramisu filling. Soak the top layer with the remaining syrup.
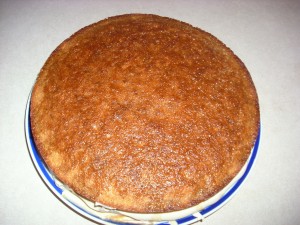
Second soaked layer

Then spread your frosting on top of your cake, careful smoothing it down the sides of the cake.
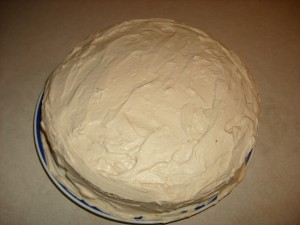
Frosted cake

Finally, dust the top of your cake with cocoa powder. Voila! You are now ready to cut a slice and enjoy the Italian “pick-me-up!”
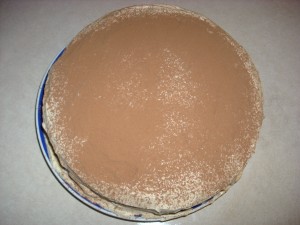
Tiramisu Cake!

Share

Foodie Friday: Cornbread

For dinner tonight, I made some cornbread with breaded chicken and salad. Cornbread is so simple yet so delicious, and it goes so well with chicken dipped in barbecue sauce. I’m also a big fan of making it in muffin form — technically, my cornbread recipe is a muffin recipe. Despite the fact that it’s been blisteringly hot outside, a batch of cornbread definitely needed to be the star of the plate tonight.

Cornbread
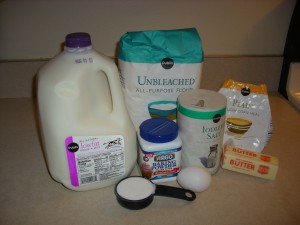
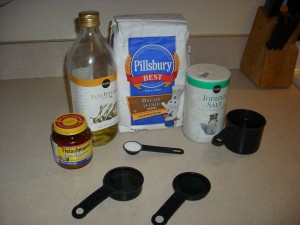
1 cup of flourIngredients for cornbread
1 cup of cornmeal
2 teaspoons of baking powder
1/2 teaspoon of salt
1 cup of milk
1 large egg
1/4 cup of butter (or oil)
1/4 cup of sugar

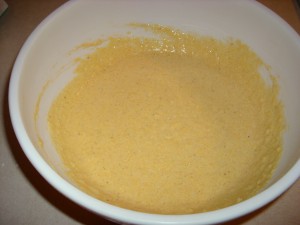
Preheat the oven to 375 degrees F. Melt the butter (if you choose to use butter) and allow to cool. Grab a bowl and a whisk, crack open the egg, and beat it. Whisk in the cooled butter slowly or else you’ll end up with a scrambled egg in your bowl. Pour in the cup of milk while whisking. Add the sugar — it’s a wet ingredient in my book. Whisk in the cup of cornmeal until combine. Whisk in the rest of the dry ingredients until combined and smooth. See? Simple!

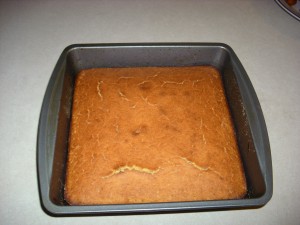
Cornbread batter Pour the batter into whatever you’d like — an 8″x8″ pan, a 9″x9″ pan, a muffin pan, a  mini-muffin pan, anything! You can have as much fun with this recipe as you’d like. Today I used my 9″x9″ baking pan because I was actually in the mood for nice square little pieces of cornbread. Once you’ve put the batter into the baking pan, put it into your preheated oven for 25-30 minutes for bread and 15-20 minutes for muffins. Prepare the rest of your dinner while you wait for the cornbread to bake. I cut chicken breast into small chunks, coated the chicken pieces with flour, dipped them in a barbecue sauce batter*, and covered them with bread crumbs. I fried the chicken in a mixture of olive oil and vegetable oil on medium heat, ensuring I cooked them thoroughly on both sides. My distraction patience was rewarded with a lovely cornbread.

Baked cornbread

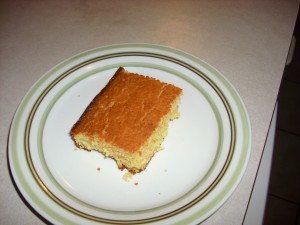
Leave the cornbread to cool while you finish preparing the rest of your meal. Avoid the temptation to slice right into that golden brown top — it’s still too hot and needs to cool off before it can be properly cut into delicious golden squares of corny goodness. Usually about 5-10 minutes will do. Once it has cooled, go ahead and cut it into as many slices as you’d like. I chose to slice it into 12 pieces today, since I usually end up with 12 muffins. Serve up your cornbread with your desired meal, grab a glass of lemonade, and enjoy!

Yumminess*As a quick aside, the barbecue sauce we used is a homemade recipe that Brian created. I couldn’t tell you exactly what’s in it, but I can tell you that it’s seriously delicious. To make a batter out of barbecue sauce, pour about 1/3 to 1/2 a cup of sauce into a bowl, beat in an egg, whisk in enough flour (about 1/2 cup) to make a batter, and voila! Barbecue sauce batter. I used some bread crumbs to help keep add a little extra crunch because I love crunchy chicken.

Share

Foodie Friday: Homemade Pizza

Being a transplanted New Yorker, I have very high standards with regards to pizza. I expect nothing but the best, and more often than not I find pizza outside of The City to be quite lacking. While we have been fortunate enough to acquire the delicious pizza from Pizza Vito’s, it’s not always economical to order out. I have been perfecting my own pizza making skills for a few years now, and I can attest to how simple it is to make your own pizza from scratch. Here’s what you’ll need:

Dough
3 cups bread flourIngredients
1 tbsp yeast
1.5 tbsps sugar
3/8 cup & 3/4 cups warm water — keep separated, and make sure it’s not to hot to the touch!
3 tbsps cups olive oil
1 tsp salt

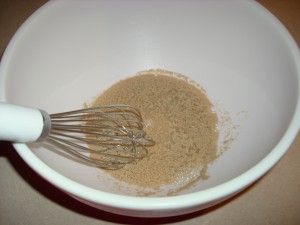
In a bowl, combine yeast and sugar. Making certain the water is not too hot (you will kill the yeast if it’s too hot), pour in the 3/8 cups of water. Whisk gently then leave it alone to proof.

Proofing the yeast

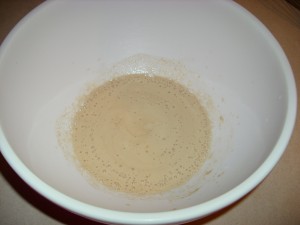
When the yeast mixture looks foamy, it has finished proofing. Be careful not to let it sit too long, lest you desire a beer-y smell in your dough.

Proofed yeast mixture
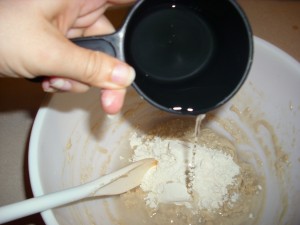
Now, there are many, many ways of doing this. Everyone has an opinion, but here’s how I do it. I drizzle in the 3 tablespoons of olive oil, pour in the teaspoon of salt, and add 1/2 cup of bread flour. Mix it together to make a “sponge” — from here you can choose to let it ferment and become a sour dough starter, or you could continue on with the process. Depending on my mood and the amount of time I have, I’ll let it hang out and ferment a bit to add some flavor. Usually, I’m more inclined to continue with my slow additions to the dough. To the start, add 1/2 cup of flour and 1/4 of water at a time, stirring after each addition.

Adding more flour and water

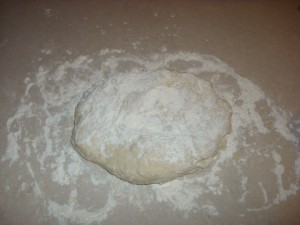
Once you’ve worked up to all of the water and 2 cups of the flour, you should have a nice, sticky dough. Add another 1/2 cup of flour or so before turning it out onto a floured surface. Basically, you want to make sure the dough isn’t going to stick to your hands and the surface rather than forming a lovely dough. Sprinkle some flour on top of your turned out dough.

Ready to knead

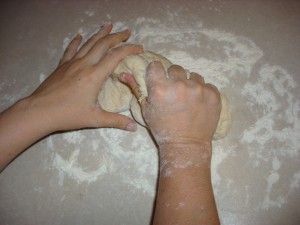
Now comes the fun part — kneading! For about 5 to 10 minutes, knead your dough. Add flour as needed. Keep in mind that the amount you need in the end will be contingent on the atmospheric conditions — dry or humid weather can affect the dough. Squish it. Fold it. Work air into it. You want the gluten strands to form and the dough to get nice and airy. Air pockets are a good thing!

Kneading is fun!

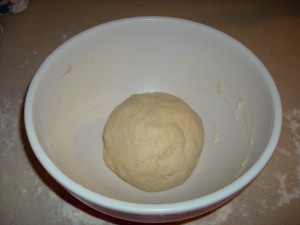
After you’ve kneaded your dough, form it into a ball. Grease the bowl with olive oil, or you can be lazy like me and spray the bowl with canned, sprayable oil. Put the dough ball in the center of the bowl, grease/ spray it, and cover it with a tea towel or greased/ sprayed plastic wrap.

Dough ball ready for the first rise

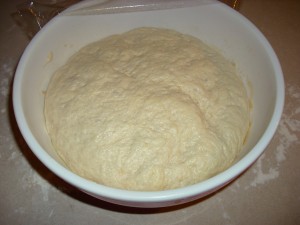
Put the bowl somewhere nice and comfy, preferably about a nice 80 degrees. Yeast likes warm, lovely weather. Now walk away. Leave it alone. No peeking! Your dough needs to rise and double in size for about an hour. Go for a walk. Watch some TV. Play. Watch paint dry. Shoo!

After the first rise

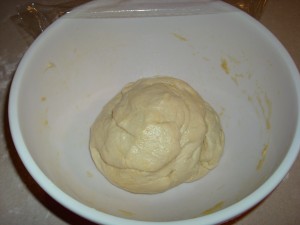
An hour later, your dough will have doubled in size and is ready to be reformed into a ball. Resist the urge to literally punch it down — you will deflate all of those lovely air pockets and have a lousy end result. Trust me on this one! Place the reformed dough ball back into the bowl for another 30-45 minutes and go about your business again. See? It’s pretty easy as long as you can distract yourself between the rises.

Ready for the second rise

Now that your pizza dough has risen, it’s time to get your pizzas prepped for baking. Preheat your oven to about 400 degrees F. I split the dough into two because I like traditional thinner crusted pizza. You could, of course, make a thick crusted pizza if that’s your thing — but you really should separate it. I promise you, there’s nothing as glorious as a New York style slice of pizza, flopping under the weight of gooey, delicious cheese. After separating the dough I’m a little unorthodox and roll it out with a rolling pin. You’re more than welcome to try flipping your dough around like the pros, but be careful. Pizza dough only needs a small bit of persuasion to become a horrible, messy accident.

Ready to form into pizza crust

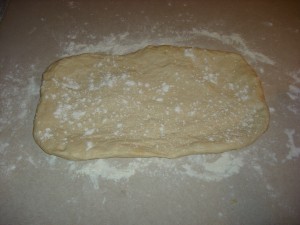
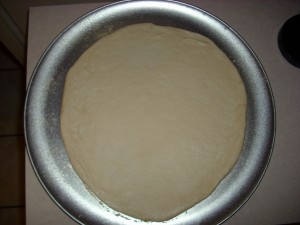
Roll out the dough into either a nice circle or rectangle, depending on how you’d like to enjoy your pizza. Sometimes a nice Sicilian style pizza can be fun, you know. A good way to transfer your dough to the baking sheet (or paddle if you have a nice paddle and pizza stone — lucky you) is to fold it over twice gently. Place the dough on the pan and unfold it carefully. You can manually spread it out a little more if needed.

Rolled out and ready for sauce

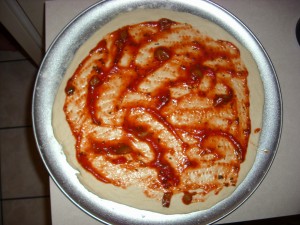
Now poke the dough lightly with a fork to ensure the crust doesn’t puff up too much. Of course, you can skip this step if you like. I happen to like the end results with this method, so that’s what I do. Now it’s time to add some sauce of your choosing. You could make it from scratch, open up a jar and use it straight, or you could doctor up some jarred sauce. I assure you any method is just fine. Spread out the sauce on the crust to ensure even coating.

Saucy pizza!

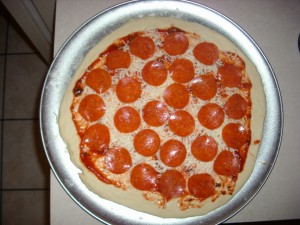
Sprinkle a thin layer of mozzarella before adding toppings. This part is also fun because there are endless possibilities. In this particular instance*, I used pepperoni. Then add another little sprinkling of mozzarella. I like to sprinkle some “parmesan” — really, it should be called parmigiano — and parsley on top. The parm adds a little extra flavor, and the parsley looks pretty on the pizza. I figure some people sprinkle parm on their pizza right before they eat it, why not just bake the flavor into it? And the flavor is absolutely worth it.

All set to go in the oven

Switch your oven from bake to broil (or don’t). Put the pizzas into the preheated oven for 7:30 minutes. After 7:30 minutes, switch them so both pizzas cook evenly. Bake for another 7:30 minutes. Cooking times will vary based on preferences and oven efficiency. You may need more time if you want a crisper crust, but be careful.

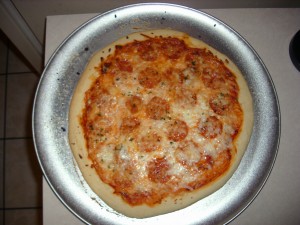
Pizza time!

Voila! Homemade pizza. Slice that delicious pie up, and enjoy!

*Last night, I actually made pineapple pizza, but the pizza looked less than photogenic. This particular pizza was actually from a previous instance.

Share